WiresharkのプラグインをMacでビルドする
Cで書かれたWiresharkのプラグインをMacでビルドしたときのメモ。
手順
準備
Wiresharkをインストールする
% brew install wireshark --cask
インストールしたWiresharkと同じバージョンのソースコードをダウンロードする(今回は3.4.5)
% git clone https://github.com/wireshark/wireshark -b wireshark-3.4.5
ビルドに必要なライブラリをインストールする
% wireshark/tools/macos-setup-brew.sh
プラグインのソースコードをダウンロードする(今回はrsocketのプラグインを使う)
% git clone https://github.com/rsocket/rsocket-wireshark
ビルド
プラグインのソースコードをWiresharkのソースコードの中に置く
% mv rsocket-wireshark wireshark/plugins/epan/rsocket
CMakeListsCustom.txtを作成する
% cd wireshark/
% vi CMakeListsCustom.txt
CMakeListsCustom.txtにこの一行を追加して、カスタムプラグインのsrc dirを設定する
set(CUSTOM_PLUGIN_SRC_DIR plugins/epan/rsocket)
Wiresharkをビルドする
% mkdir build/
% cd build/
% cmake ..
% make
ビルドが成功すると、build/run/Wireshark.app/Contents/PlugIns/wireshark/3-4/epan/にプラグインの.soファイルが生成されるので、この.soファイルをインストールしたWiresharkのPluginsフォルダにコピーする
% cp run/Wireshark.app/Contents/PlugIns/wireshark/3-4/epan/rsocket.so /Applications/Wireshark.app/Contents/PlugIns/wireshark/3-4/epan/
Wiresharkの設定
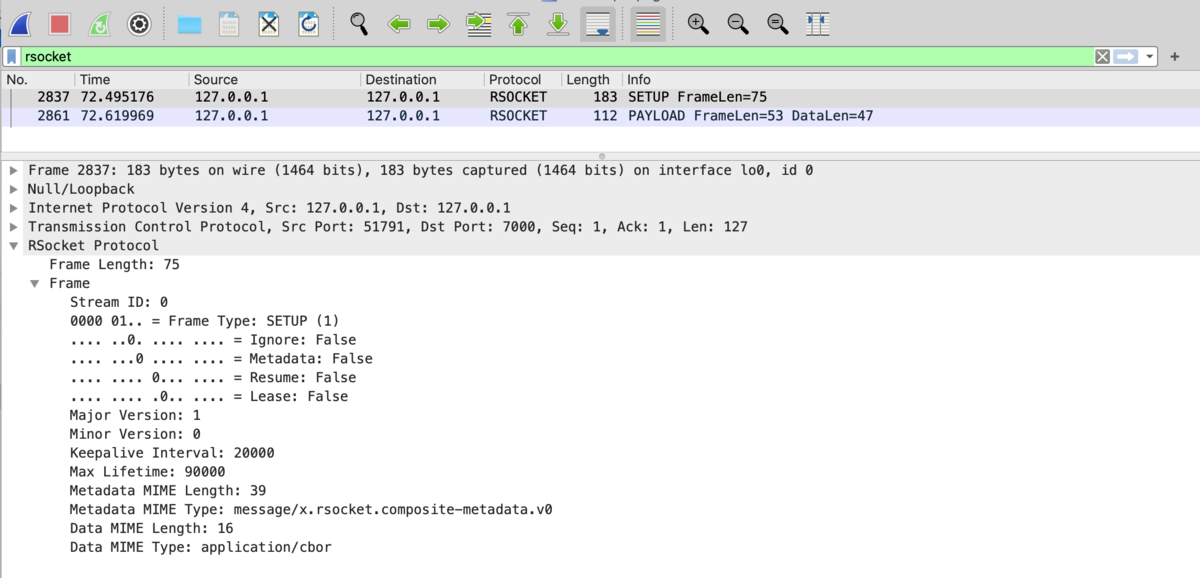
(インストールした)Wiresharkを起動後、「Analyze」-> 「Decode As...」の画面で追加したプラグインを設定すると、プラグインが適用される

参考
https://www.wireshark.org/docs/wsdg_html/#ChSetupUNIXBuildEnvironmentSetup
https://www.wireshark.org/docs/wsug_html_chunked/ChPluginFolders.html